
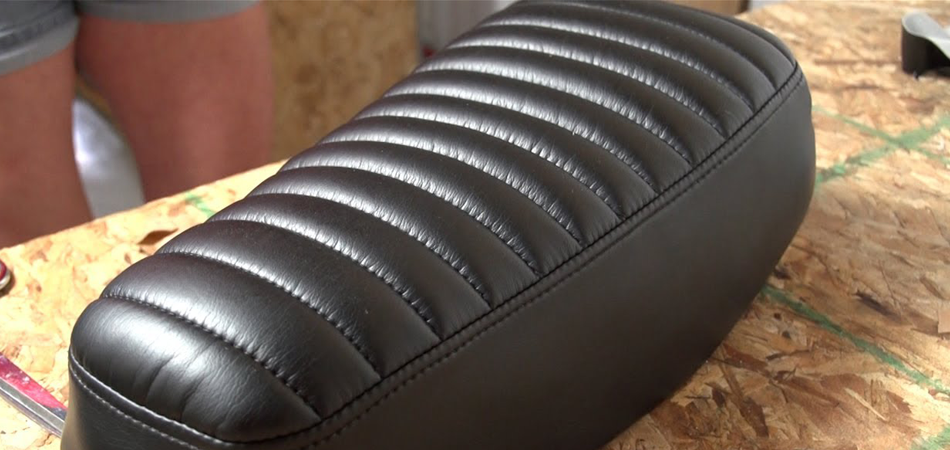
Are you preparing to cover your bike seat with leather? Knowing the complete process of how to cover a motorcycle seat with leather will help you big time then. And that’s exactly what we’re getting you today.
To cover a motorcycle seat with leather, you need to cut get the right leather with the right size. Then, you’ll cut it according to the design you’ve planned and attach the side parts and upholsters with your favorite stitching design. The process will need a few different tools along the way.
Let’s get you through a step-by-step process and show you how even professional seat craftsmen do it.
How To Cover A Motorcycle Seat With Leather?
First off, there could be a million reasons why you’d cover the bike seat with leather. Even the Harley riders do it pretty often to personalize things to their tests. Well, unless you have the most comfortable seat for Harley Sportster, and you don’t want to ruin the superior comfort it already comes with.
Now that you want to get started, covering a motorcycle seat with leather is not a difficult task at all. You just need to pay attention to collecting the necessary materials and the step-by-step process. Here are what you need:
Gather Necessary Materials
To accomplish this project, you need to arrange some materials and tools including:
- Leather for covering the seat,
- Additional foam for repairing the old one,
- Glue for adjustment,
- Sewing materials,
- Scissors for cutting down the leather,
- Stapler for attaching the cover with the seat,
Steps To Follow:
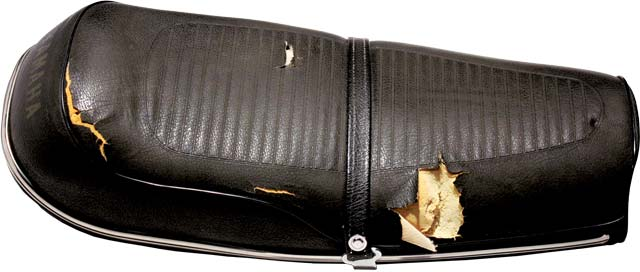
Separating the Old Seat Cover
Your old cover can be damaged or unusable. So at the beginning of the process, you need to detach the damaged cover from the foam. Though it’s too easy to separate the old cover, do it attentively. Because the foam can be scratched or torn if done recklessly.
Take extra care while removing the staples from the seat cover. You have to use the staple remover tool to do it faultlessly.
Necessary Repairing to Old Foam
If the seat is scratched or torn, then you need to do repairs for a seamless finish. Look forward to the scratch or torn parts of the seat. Now cut down the particular part of the seat and adjust new pieces of foam using adhesive to make it seamless.
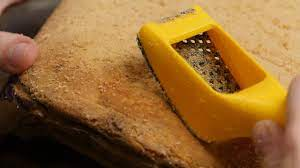
Use glue and other necessary pieces of equipment to attach new pieces of foam to the main seat. Sometimes, your old foam just needs to be cleaned. So never forget to do it.
Cut Down the Leather
Now, cut the leather according to the size of the seat. Firstly, measure the seat size. A scale or measurement tape can be used in this process.
In this step, you need to cut down two U-shaped designs for the front and back sides of the cover. For a perfect size, use a particular pattern. And after applying the pattern, mark the necessary parts of the leather with a pencil or draw pen. Now, start to cut.
However, after cutting two U-shaped designs, you have to cut the leather for the main cover of the seat. Cut it down according to the pattern. Also, you need to cut two additional thin designs for adjusting with two particular sides of the main cover.
These two pieces of thin stuff will help you while stapling the cover with the seat. On the other hand, the main cover will be long enough and durable by adding these pieces of stuff.
After cutting down, you need to sew all the parts of the leather to make a cover.
Adjust the Leather top
In this step, you need to adjust U-shaped parts to the front and backside of the main cover. Before starting to sew, mark the pieces of leather with a pencil or drawing pen. Use the glue for adjusting, and then sew the pieces of the cover perfectly.
Now, attach the thin pieces of leather with the two sides of the main cover. Adjust them with glue and sew them through.
After adjusting all the parts of the cover, the primary seat cover is made. Now you need to make it perfect for the seat.
Adjust the seat size
You have to make the seat cover perfect and adjustable with the seat. Unnecessary parts must be removed from the primary cover. You may find wasteful parts which are caused by the extra length of the pieces you have cut. So cut the parts of the cover that you don’t need with scissors.
Measure that the seat is perfect size. If you find any misalignment, resolve that beforehand. Otherwise, the cover will not be adjustable with the seat.
Wrapping the Seat
After making the cover, you need to wrap the seat with it. Start to wrap from the front side of the seat. And finish at the bottom side.
Move the cover slightly on the two sides of the seat. And measure if it is adjusted excellently. So, attach the cover with the seat firmly and jump to stapling.
Stapling the Cover with the Seat
In this process, you need to staple the seat with the cover. You may use a staple gun in this process.
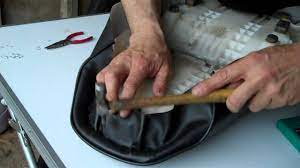
Align the cover in the middle of the seat. Now, staple two counter sides of the seat simultaneously. Remember, stapling is a major for covering your motorcycle seat. So try to do it faultlessly.
Another noticeable matter is, staples can get separated if not punched all the way in. So make sure you have them digging well. Now, your seat is ready to put on the motorcycle.
Put and secure the Seat
Now, put the seat on the motorcycle and attach it firmly. Assess your motorcycle seat whether it is comfortable or not. I hope it will be fully adjustable with your motorcycle.
Now, what are you waiting for? Make a ride with your new seat and enjoy the journey. From this video, you can get practical knowledge.
So, act by the described process and get a perfect seat cover!
Verdict
Crafting your own motorcycle seat means riding the bike with a personalized experience. A custom selection of leather and giving it the shape you want is even more amusing.
And now that you know how to cover a motorcycle seat with leather cover with your own customs, things should go easy. However, be sure to measure the sizes of both the seat and cover precisely so that you don’t end up making a wrong cut.