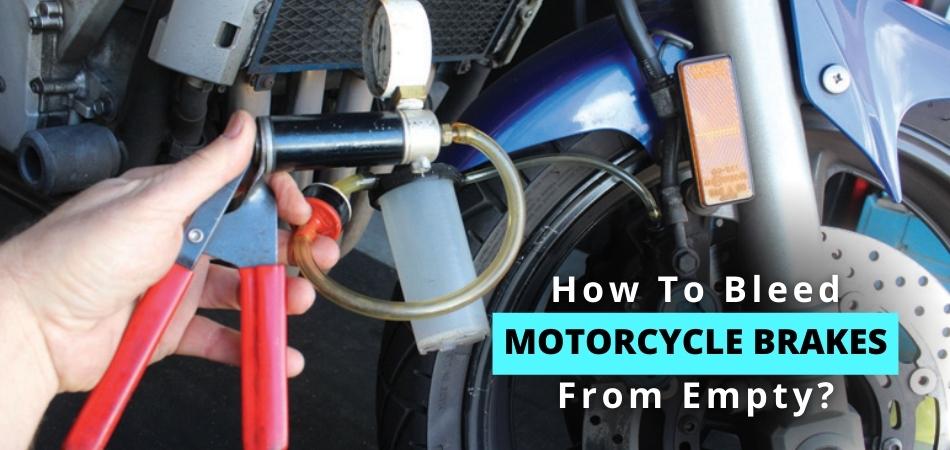
Motorcycles, since their invention, have been providing alternative and even first-choice transportation options. However, using any wheel-powered machine requires regular servicing for the braking system. Hence, a good understanding of bleeding motorcycle brakes from empty is vital to avoid worn brakes, leading to brake failure.
Bleeding a motorcycle brake isn’t a complex process if the biker has the right tools and adequate information on achieving the task. There are essential tips that can make the process smooth and result in better-performing brakes. Simple steps like regularly replacing worn braking system components are vital.
The first step in bleeding a motorcycle is to wipe down the reservoirs, brakes, callipers, and brake lines to avoid contaminating the pads. A test ride is then required after the process is complete to ensure the bike’s efficiency.
This article will provide readers with adequate information on how to bleed motorcycle brakes from empty.
How Often Should You Bleed Your Motorcycle Brakes?
Those who aren’t sure how old their brake fluids are can check the colour of the liquid. A good brake fluid colour is clear. When the brake fluids get old, the colour becomes dark and cloudy. It is advisable to bleed air bubbles out of the system once every two years.
Bikers should regularly bleed their brakes because motorcycle brakes degrade with everyday use. Water will get absorbed out of the air, reducing the boiling point. When the boiling point is low, air bubbles will get past seals, resulting in spongy seals. Regular bleeding will solve these issues.
Here’s How To Bleed Motorcycle Brakes From Empty In 7 Easy Steps
It becomes necessary to bleed motorcycle brakes when braking power reduces or when the lever begins to feel spongy. Uneven braking is also a tell-tale sign that the brakes may need bleeding.
It is always a good idea to consult the motorcycle manual for information. The motorcycle manual contains information on the torque specs and the type of fluid to use.
Before starting the process, it is vital to know that brake fluids are harsh chemicals. The biker and the bike can experience adverse effects directly contacting brake fluids.
When servicing and bleeding brake lines, it is advisable to take necessary precautions. The following paragraphs show a step-by-step guide on bleeding motorcycle brakes from empty.
Step 1: Do a Thorough Wipe Down
Bike users should wipe down the reservoirs, brakes, callipers, and brake lines to avoid contaminating the pads. These components will also prevent excess fingerprints from turning up all over the bike.
After a thorough wipe down, the fluid in the reservoir is made level by turning the handlebar. The next step is to remove the cap and diaphragm carefully. They should both be set aside on a clean towel. If the diaphragm is broken or cracked, it is due for a replacement.
Step 2 : Remove the Covers
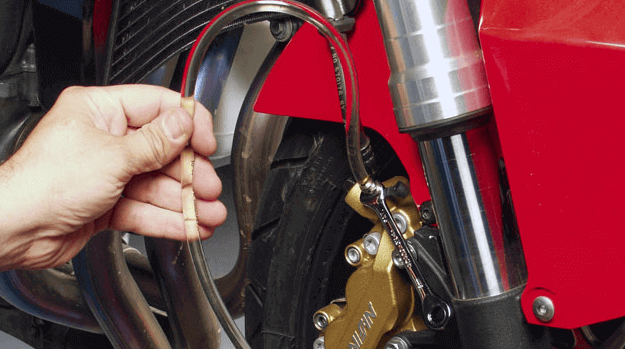
The next step is to transition to the calliper and remove any covers. Removing the cap will make the bleeder valve visible. The bleeder valve is a rubber cover that protects the nipple.
A clear tube should fit over the bleeder valve nipple. The rubber tubes are usually at least six inches long, enough to reach a catch bottle.
Step 3: Squeeze the Brake Lever
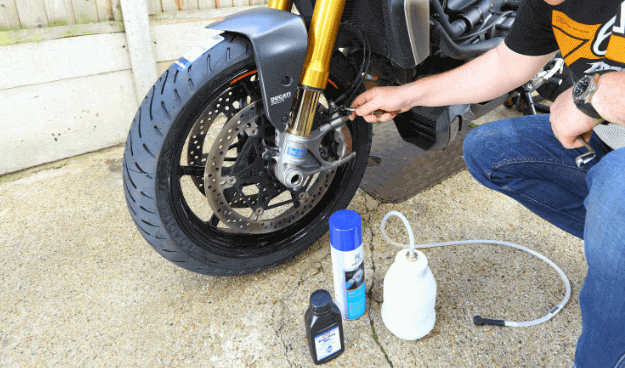
The third step is to begin the bleeding process by squeezing the brake lever(front). Alternatively, users can push down the pedal(rear). The bleed valve has to open ¼-½ turn.
After the biker presses the brake, air and brake fluid will come out from the bleeder valve into the clear tube. The brake levers are released slowly and left to stay at their original position for a few seconds before repeating the process.
Step 4: Check Brake Fluid
It is crucial to watch the fluid reservoir. If air gets into the tube, it indicates oil depletion in the reservoir. The bleeding process will need a restart when the oil finishes halfway into the reservoir.
Bikers can add fresh brake fluid to the reservoir to ensure that air doesn’t get sucked into the system during the bleeding. Also, contaminants and debris should not get into the reservoir. Particles that enter the system will cause system malfunction.
Step 5: Repeat the Bleeding Process
The next step is to repeat the bleeding procedure until the mixture leaving the bladder consists of only brake fluid. Depending on how much air is in the system, it may take ten minutes or more. After adequate bleeding of the brakes, a noticeable improvement in the braking system becomes apparent.
Step 6: Double Check the Bleeder Valve
After the bleeding process is complete, it is necessary to check that the fluid levels in the reservoir are at the fill line’s upper level. The diaphragms and cover and any other hardware should get installed.
It is crucial to ensure that the bleeder valve is closed tight. After reassembling the bike, bikers should slightly roll the machine back and forth while engaging the brakes. If the brakes are better, the bike movements will stop immediately after the brakes get engaged.
Step 7: Run a Test Ride
Finally, a test ride is essential to confirm if the bleeding improved the brakes. The machine speed will gradually increase alongside the brake load. If the brakes are functional, the bike will halt smoothly and quickly. Also, the calliper line and master cylinder should get checked for leakage upon completion of the process.
How Long Does It Generally Take To Bleed Motorcycle Brakes?
Even though bleeding a motorcycle brake involves removing many movable parts, bleeding a brake takes about thirty minutes.
However, depending on the biker’s experience and how much air is in the system, it may take slightly longer.
What Happens If You Do Not Bleed Your Motorcycle Brakes Regularly?
If the brakes aren’t regularly bled, bikers will experience non-responsive brakes. The air in the system will cause the brakes to catch slowly or not respond. The calliper pistons require hydraulic pressure to clamp the brake pads against the rotor. Air bubbles will lessen the pressure and damper the braking performance.
Below are some of the effects of not bleeding the motorcycle brakes.
Spongy Brakes
One of the most common causes of spongy brakes is when air enters the brake line. When the air gets into the brake line, it causes brake fluid to flow incorrectly. The flow of brake fluid will cause spongy or soft brakes.
Slow Braking
Another effect of not bleeding motorcycle brakes is slow braking. Because air is now present in the system, the brake will take longer to catch. The best way to fix a brake that takes too long to “catch” is to bleed the brakes of air bubbles.
Wrap Up
Malfunctioning brakes are a common cause of road accidents. Therefore, knowing how to bleed motorcycle brakes from empty will not only make for a more enjoyable bike ride; it is the knowledge bikers need to keep themselves from accidents. Fortunately, with the information made available in this article, bikers can now bleed their brakes on their own.
